Before I left the States, I had a dinner and a "one last hurrah" GNO (girls' night out) with two of my girlfriends. It sure made us realize we're "older" now but it was a good time, nonetheless. My girlfriends know me so well and spoiled me with these gifts! I had stashed them away for the big move and have only recently pulled them out to use them.
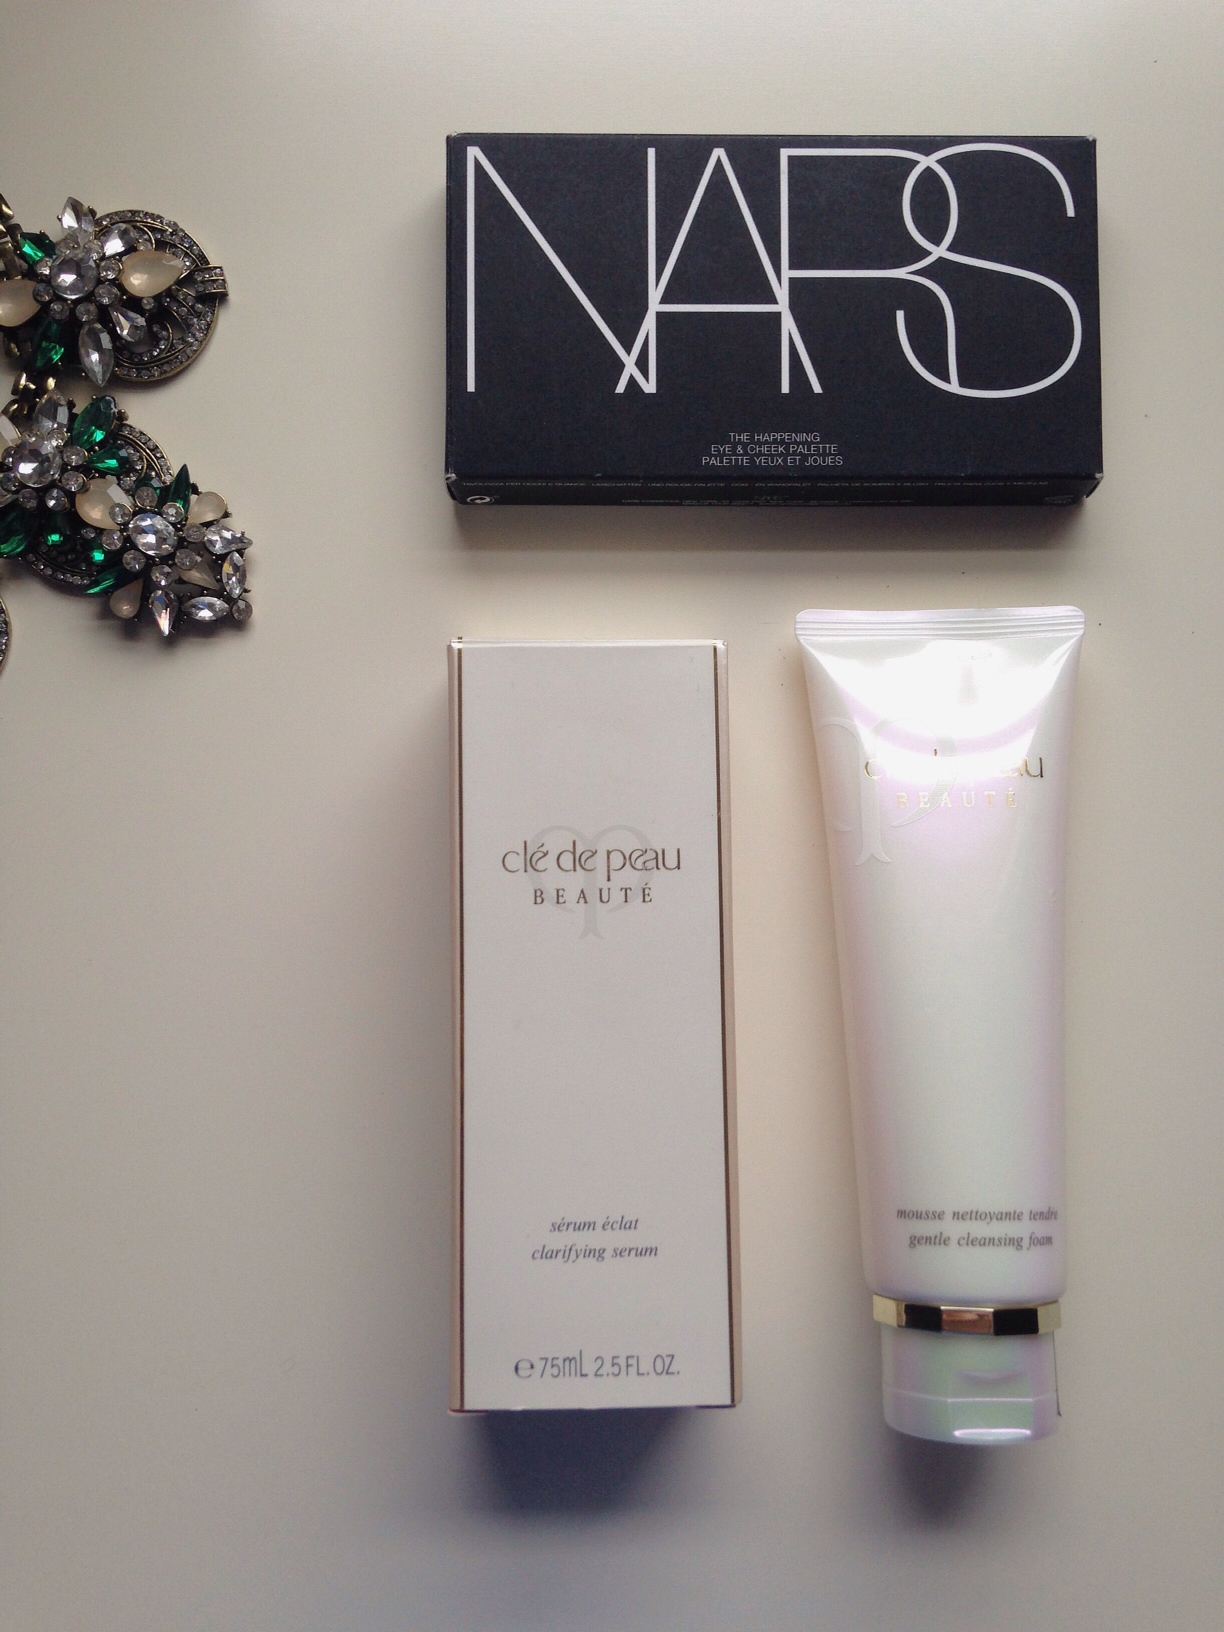
NARS The Happening Palette; Cle de Peau Clarifying Serum; Cle de Peau Gentle Cleansing Foam


I had never tried anything from Cle de Peau and was thrilled to receive products from the line. Cle de Peau is an ultra-luxurious and extremely pricey skincare and makeup brand. I have not tried the serum yet but the gentle cleansing foam has been amazing. It leaves your skin feeling very clean without feeling tight. I have incorporated it into my daily skincare routine and it is perfect to use with my Clarisonic. It foams up very well and I can get away with using the tiniest amount; with such a hefty $63 price tag, it helps that you don't go through the product quickly.
I have always loved NARS. The first ever eyeshadow duo I purchased was one from NARS and the first ever blush I purchased was NARS Deep Throat (which is still one of my favorites). When I opened The Happening Palette, I was excited that I would be able to try NARS Orgasm and NARS Laguna (two cult favorites). This palette has a blush, a bronzer, and 4 eyeshadows, making it a perfect one to travel with.
Thank you J & S!